Buyer guides
How to Prepare Artwork for a Custom Plush Project
Prepare clear artwork, size references and project requirements for custom plush sampling, with a practical checklist for brands and creators.
Give the design a clear starting point
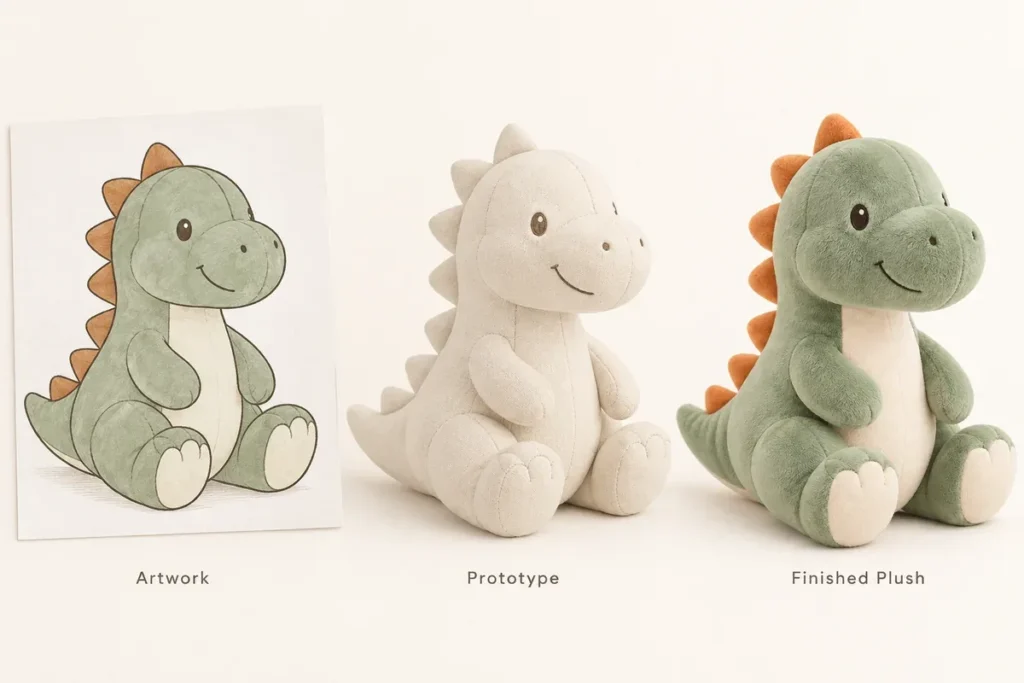
A useful artwork brief explains both what the character looks like and which details make it recognizable. A single front-view sketch can start a discussion, but it may leave the depth, side profile, back and attachment positions open to interpretation.
Collect the latest approved artwork in one place. Label the version and avoid sending several conflicting images without explaining which one takes priority. If you only have an early idea, say so; uncertainty is easier to discuss when it is visible.
Show the important views
- Front: facial expression, proportions and main colour areas
- Side: depth, muzzle, ears, limbs and posture
- Back: tail, seams, markings or clothing details
- Detail views: decoration, accessories and label positions
You do not need to invent technical construction drawings before making an enquiry. Clear views, annotations and a description of the intended result are a useful foundation for discussion.
Describe the personality in three dimensions
Decide which features are essential: the eye spacing, a distinctive mouth, an oversized head, a long tail or a specific pose. Explain what can be adjusted if a detail is difficult to interpret in fabric.
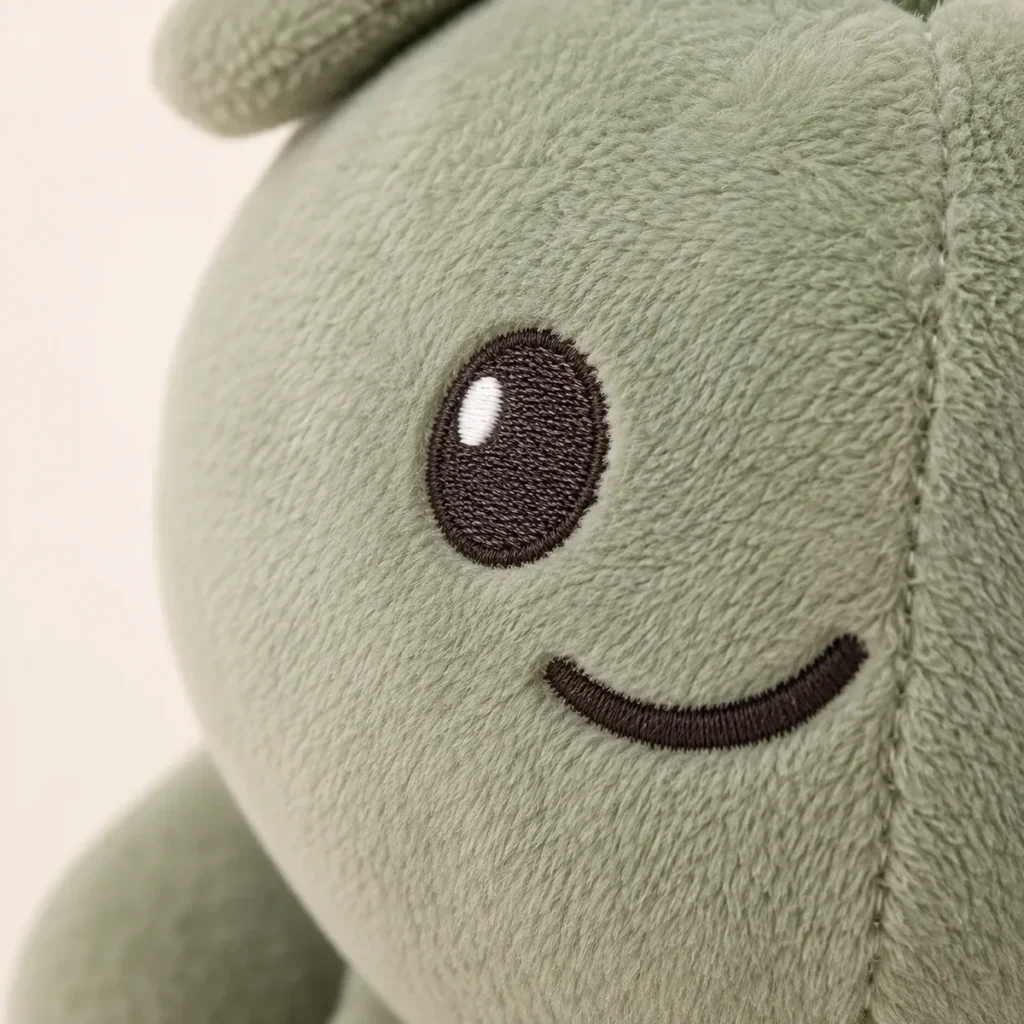
At small sizes, a very thin line or tiny accent may be hard to represent as a separate sewn component. Discuss how embroidery, appliqué or a simplified shape could express the same idea. Assess that decision on the sample rather than relying only on a digital image.
Define size and colour without ambiguity
A height measurement should identify its start and end points. For a seated design, say whether you mean seated height or total length. For a keychain, distinguish the plush body from the ring and clasp.
Include colour references and identify the areas they apply to. Screens, lighting and fabric surfaces can change the way a colour appears. Agree the physical material and sample reference for approval rather than treating a screen image as the only standard.
Include the non-visual requirements
- Intended audience and how the product will be used
- Destination market and any assessment or documentation requirements to discuss
- Estimated quantity and target budget if known
- Fixed or removable clothing and accessories
- Labels, hangtags, packaging and required text
- Delivery destination, milestones and approval contact
Use files you own or are authorized to use. For a licensed character or brand mascot, include the applicable design restrictions and the approval process.
Keep feedback organized
During sampling, send one consolidated set of comments with a numbered list. Separate a correction from a new design change. Pair each comment with a marked-up photo or reference so the requested adjustment is clear.
Maintain a final approved artwork and specification record after revisions. Old drafts can be useful for history, but should not compete with the production reference.
Ready to share the brief?
Start with the design you have, and identify any unanswered questions. Explore custom character plush or custom mascot plush, then send your project details.