Buyer guides
A Plush Face Looks Different in 3D: Give Feedback Using Facial Landmarks
Turn plush-face feedback into clear sample revisions. Compare matching views, label facial landmarks and use an annotation sheet and one-round change list.
“The face does not look like the character” needs a location before it becomes useful sample feedback. Mark the facial centreline, eye centres and mouth landmarks on comparable views, then describe the expression you want to preserve. This gives the sample maker a specific difference to review without pretending that a flat drawing and a curved plush surface are identical.
This guide focuses on one decision: what should change in the next face sample? Use the separate complete sample-review checklist for seams, accessories, labels and packaging.
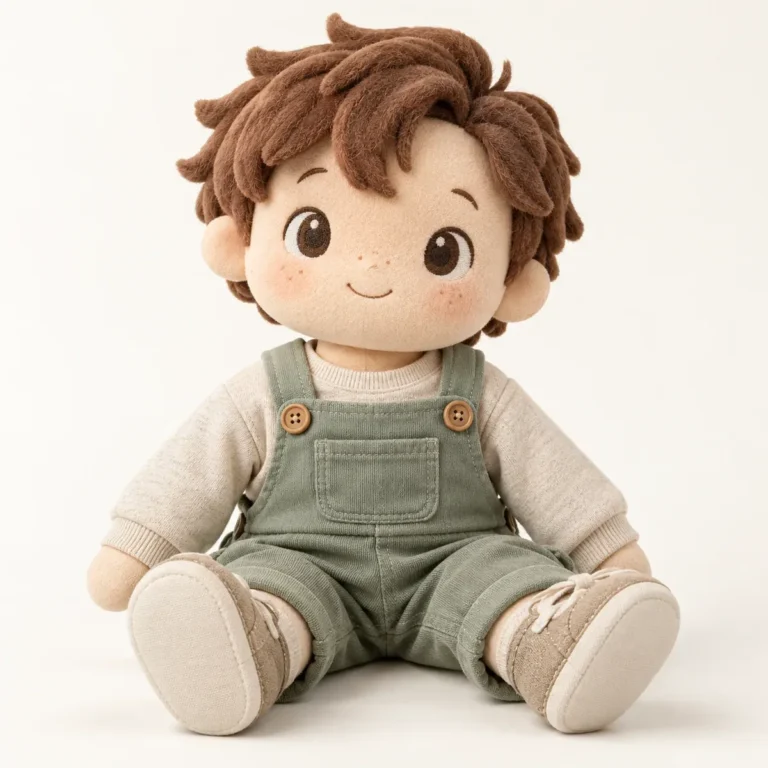
Make the two views comparable first
Identify the artwork revision and physical sample version. Select the approved front view and photograph the sample facing the camera in its intended resting shape. Keep the camera level with the face and record the setup so the next revision can be photographed in the same way. Add matching side and three-quarter views when depth or cheek shape is part of the question.
A tilted head or a different camera angle can make an eye appear higher or a cheek wider. Check those conditions before asking the factory to alter the pattern. Keep the original photograph alongside the annotated copy. Avoid stretching an image to make the outlines match: it can conceal the difference you need to discuss.
Choose landmarks that describe this character
Use a small, consistent set of labels. A face centreline is a reference chosen from the agreed design; it need not follow a seam. Mark each eye centre, the nose or muzzle centre where applicable, the mouth centre and both mouth corners. The map below uses image-left and image-right as seen by the reviewer; state that convention on every annotated view.
Compare the relationships: eye spacing relative to face width, eye height relative to the mouth, mouth width and the direction of the smile. These observations help locate a change. They do not establish a universal ideal proportion or an automatic manufacturing tolerance. Intentional asymmetry should stay in the brief.
Facial landmark annotation sheet
Print or copy this sheet beside the front-view artwork and front-view sample photograph. Apply the same labels to both images. Mark physical dimensions only when the measurement method has been agreed with the sample maker.
A · Face centreline
B · Image-left eye | C · Image-right eye
D · Nose / muzzle centre, if present
E · Image-left corner F · Mouth centre G · Image-right corner
| Annotation record | Complete for this review |
|---|---|
| Character / authorised artwork file and revision | ________________________ |
| Sample ID / date / reviewer / left–right convention | ________________________ |
| Front artwork / front photograph filenames | ________________________ |
| Side / three-quarter photograph references | ________________________ |
| A: agreed centreline and reference feature | ________________________ |
| B–C: eye position and spacing observation | ________________________ |
| D: nose or muzzle position / depth observation | ________________________ |
| E–F–G: mouth width, curve and corner direction | ________________________ |
| Features that must remain unchanged | ________________________ |
Separate feature placement from head shape
Moving embroidery may not address a difference caused by the head’s volume, muzzle projection or fabric surface. Ask the sample maker to identify whether the proposed correction concerns embroidery placement, feature shape, the pattern or filling. Keep that feasibility response beside the buyer’s visual request.
For example, “make the face cuter” leaves several possible interpretations. A clearer demonstration request is: “On front photograph S1-F, review the position of mouth centre F relative to eye line B–C. Preserve the approved smile direction; propose a revised placement for our review.” This is an invented wording example, not a report of a completed customer revision.
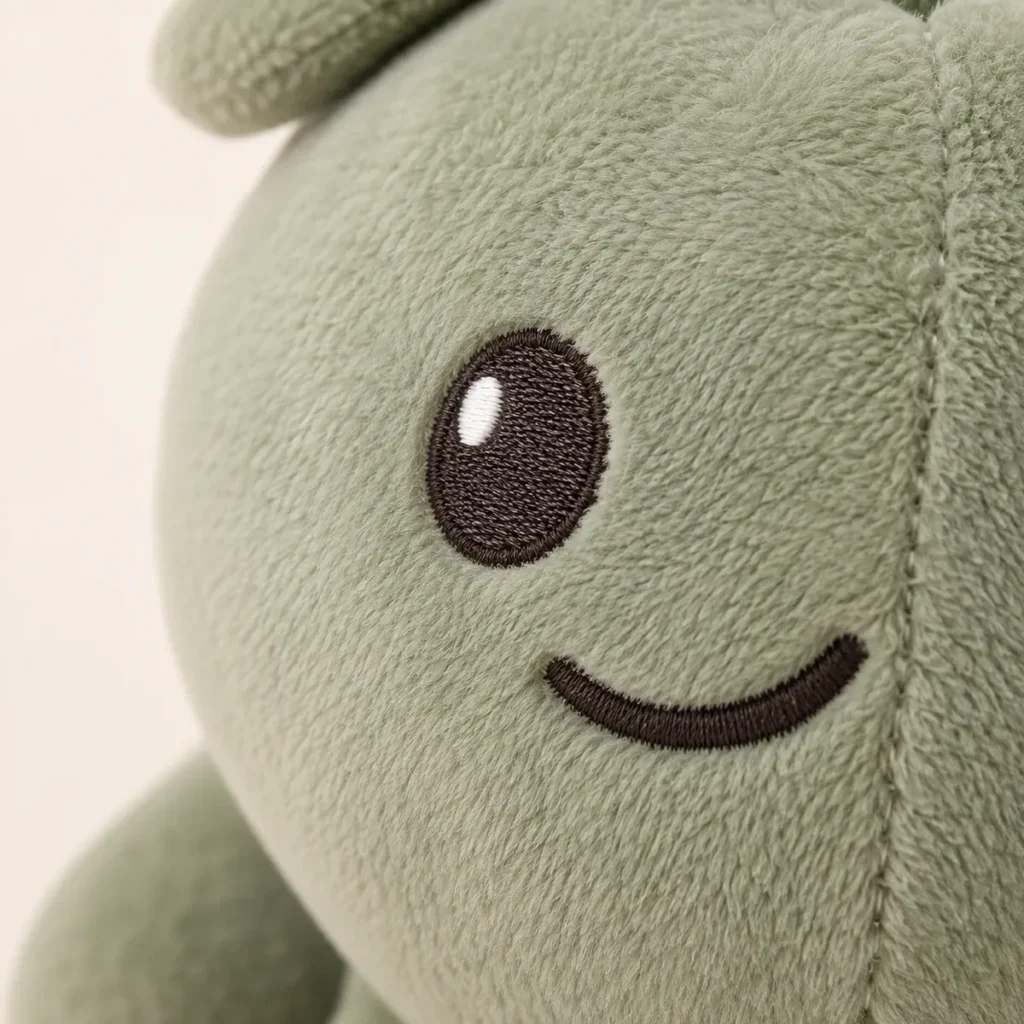
Issue one controlled list for the next revision
Limit each row to one observation and one requested outcome. Distinguish a correction against approved artwork from a new design preference. Name the person who will resolve conflicting comments, then ask the sample maker to confirm the proposed method before the next sample is produced.
| Item / photo / landmark | Observed difference and requested outcome | Keep unchanged / priority | Maker response / next check |
|---|---|---|---|
| ________ | ________ | ________ | ________ |
| ________ | ________ | ________ | ________ |
| ________ | ________ | ________ | ________ |
Revision control: feedback version ______; decision owner ______; agreed changes ______; open feasibility questions ______; next sample ID ______.
Review the replacement sample with the same views and labels. Confirm that each requested correction is resolved and that the features marked “keep unchanged” remain acceptable. Photo annotations support this discussion; final likeness approval should refer to the identified physical sample and written specification.
For custom character plush development, send your own or authorised artwork, the sample photographs, target size and the completed revision list. Ask Edwin to review the face changes and identify which details need sample-maker confirmation.